
Appearance
Preprocessing Module Guide
The Preprocessing module prepares a grayscale image stack for the rest of the pipeline: crop it, trim its slice range, flip or rotate it, downscale it, adjust its intensity, and convert its bit depth. Every operation is optional, and the result is always saved as a new workspace file — the original stack is never modified.
For a conceptual overview, see Preprocessing Module.
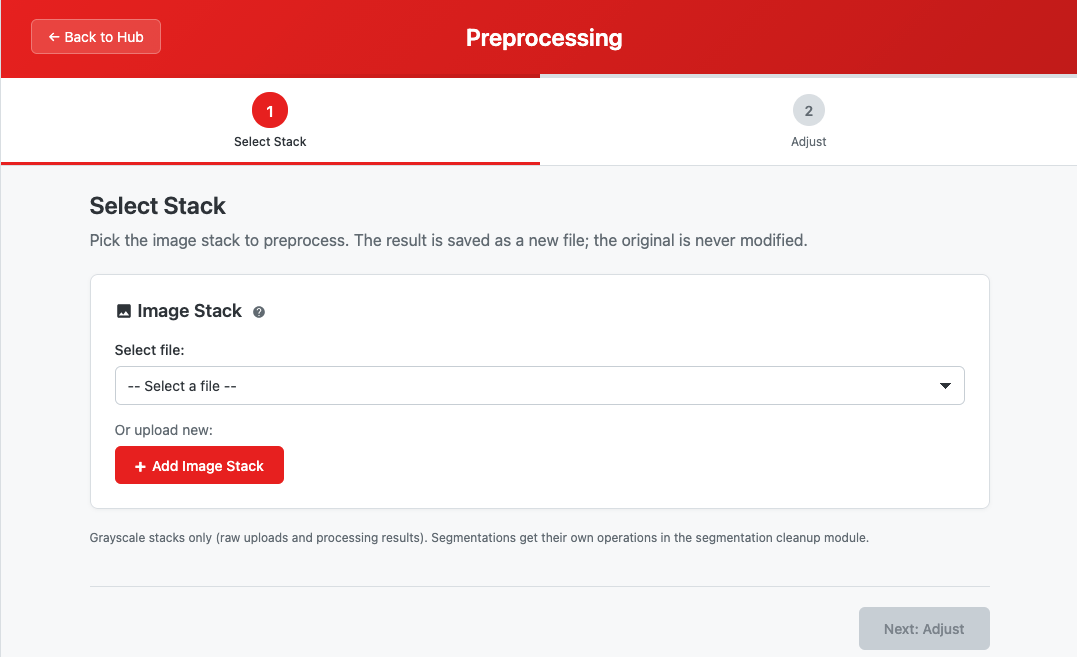 The Preprocessing module landing page showing step navigation and file selector
Quick Start
- Launch module — Click "Preprocessing" from the workspace hub
- Select a stack — Pick a grayscale TIFF from your workspace (raw upload or processing result)
- Adjust — Set any combination of crop, z-range, geometry, intensity, and output type
- Save — Name the output and click "Save as New File"
- Continue — Open the result in the Image Viewer or feed it to another module
Fixed Operation Order
Whatever you configure, the operations always run in the same fixed order, so results are reproducible:
- Crop (xy rectangle, in original coordinates)
- Z-range trim (keep a contiguous slice range)
- Flip (horizontal, then vertical)
- Rotate (90° / 180° / 270°)
- Downscale (mean binning)
- Intensity (window / gamma / invert)
- Data-type conversion (output bit depth)
Step-by-Step Guide
Step 1: Select Stack
Pick the grayscale image stack to preprocess.
| Source | Description |
|---|---|
| Raw uploads | Image stacks in your workspace tagged as raw uploads |
| Recent results | Grayscale processing results, including denoised and previously preprocessed stacks |
| Test data | The built-in sample raw stack |
Segmentations and label maps are excluded — they have their own operations in the Segmentation Cleanup module.
Once you pick a stack, the module reads its dimensions, slice count, data type, and voxel size, and samples an intensity histogram. The Adjust step becomes available once the stack info loads. See Select Stack.
Step 2: Adjust
All operations are configured in one step, with a live preview of intensity changes on the current slice.
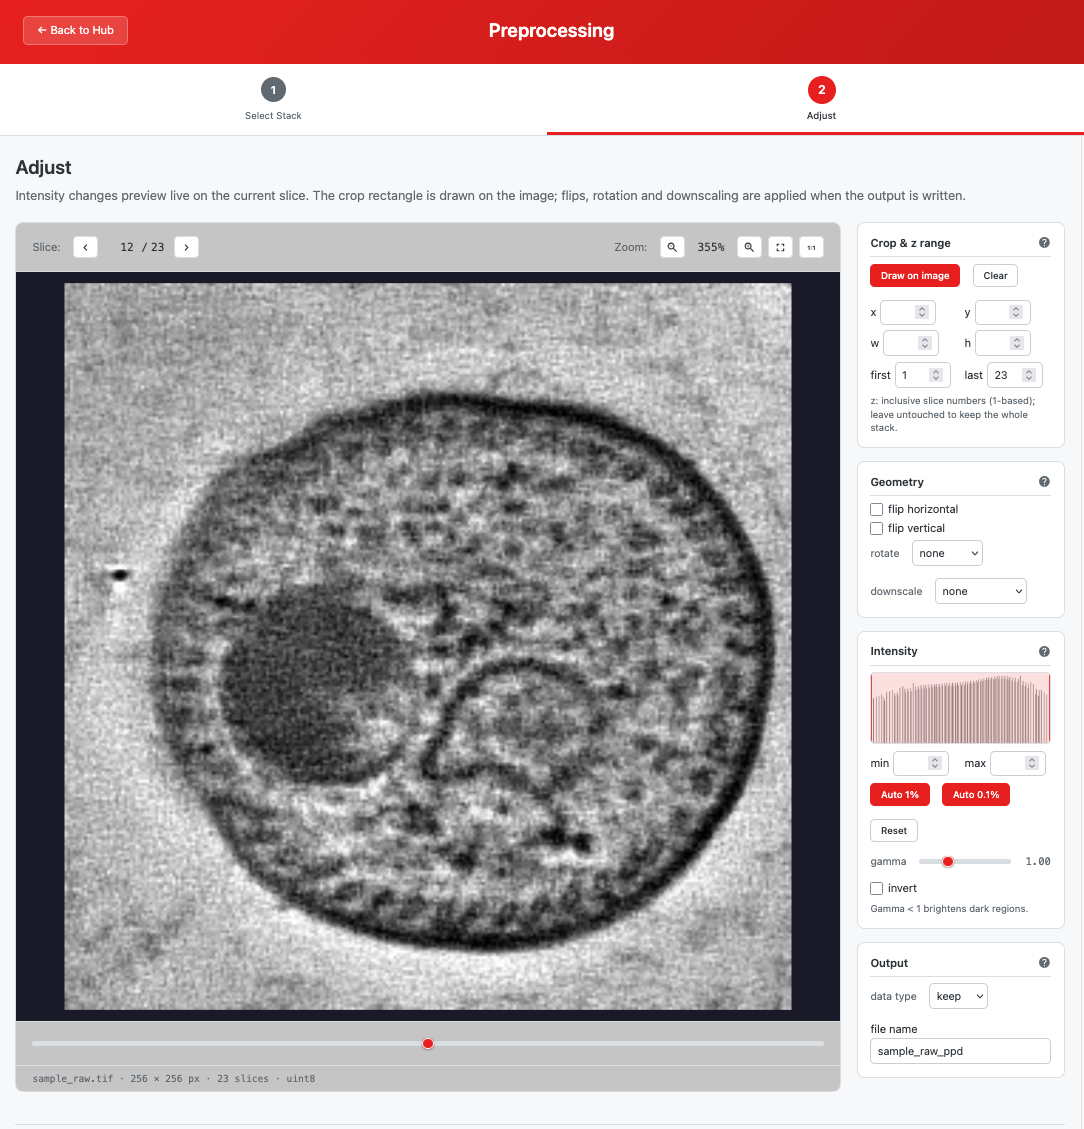 Adjust step with intensity histogram and window markers
Crop and Z Range
Two ways to set the crop rectangle:
- Draw on image — click "Draw on image", drag on the preview; the area outside the rectangle is dimmed. "Clear" removes the crop.
- Numeric inputs — type x, y, w, h directly (x/y = top-left origin, in original image coordinates, clamped to the stack size)
Z-range trim: set "first" and "last" to keep only that slice range (1-based, both inclusive). Leave untouched to keep the whole stack.
Lineage tip: when a crop or z-range is applied, the crop origin (x, y, z) is recorded on the output file's lineage — the Stack Stitching module reads it to prefill its recipe.
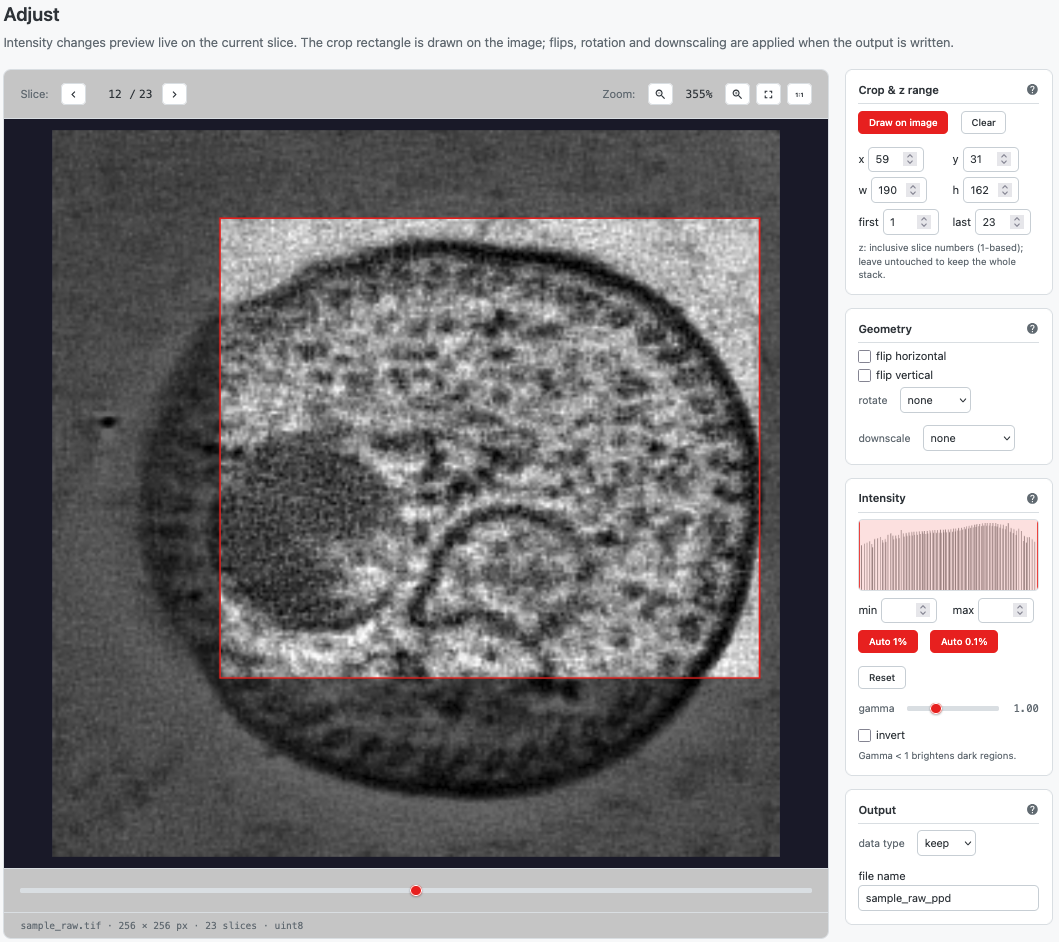 Adjust step with drawn rectangle
See Crop and Z Range.
Geometry
| Operation | Options | Notes |
|---|---|---|
| Flip | horizontal, vertical (independent) | Horizontal applies before vertical |
| Rotate | none, 90° cw, 180°, 90° ccw | 90°/270° swap output width and height |
| Downscale | none, 2×, 4×, 8× | Mean binning — also reduces noise. Slice count unaffected |
Downscaling rescales the physical voxel size: the xy voxel spacing is multiplied by the downscale factor and stored on the output. Geometry operations are not shown in the live preview; they apply when the output is written. See Geometry.
Intensity
Intensity changes preview live on the current slice:
| Control | Description |
|---|---|
| Window (min/max) | Drag the two histogram markers or type values. Below min → black, above max → white |
| Auto 1% / Auto 0.1% | Set the window to the 1/99% or 0.1/99.9% percentiles of the sampled data |
| Gamma | 0.2–3.0 (default 1.0). Below 1 brightens dark regions, above 1 darkens them |
| Invert | Flips bright and dark |
| Reset | Clears window, gamma back to 1, invert off |
The histogram is sampled from a few slices through the stack and log-scaled, which keeps the sparse counts typical of EM data readable. See Intensity.
Output
| Setting | Options |
|---|---|
| Data type | keep (input's type) / 8-bit (0–255) / 16-bit (0–65535) |
| File name | Defaults to the input name with a _ppd suffix; sanitized, .tif added automatically |
Click Save as New File. If needed, the module first scans the kept, cropped region for a global intensity range ("Scanning intensity range"), then processes slice by slice. On completion you can Open in Image Viewer or Start New Run. See Output.
Output Files
| Output | Description |
|---|---|
| Preprocessed stack | New TIFF in your workspace, tracked with lineage back to the input (including crop origin) |
| Voxel size | Carried over from the input; xy spacing rescaled when downscaling |
Troubleshooting
| Issue | Possible Cause | Solution |
|---|---|---|
| My stack isn't listed in Step 1 | It's a segmentation/label map | Use the Segmentation Cleanup module for label stacks |
| Crop field shows an error | Typed value outside the stack | Values must be whole numbers inside the frame; the crop keeps its previous value until fixed |
| Flip/rotate/downscale not visible in preview | By design | The preview shows intensity changes only; geometry applies on save |
| Output looks too dark/bright | Window set too narrow or gamma off | Use Auto 1% as a starting point, or Reset |
| "Scanning intensity range" takes a while | Global scan needed for consistent conversion | Set an explicit window to skip the scan |
| Physical measurements look wrong downstream | Voxel size missing on input | Set the voxel size via the File Browser's file info dialog before preprocessing |